
Salt Dough and Air Dry Clay
~ Cute Valentine’s Day (or any day) DIY~
This post contains affiliate links which means if you click on an ad and purchase something through it I could receive a commission at no extra cost to you. Thank you for your support.
At this point, you can probably tell I love handmade! If I think I can I’m going to try! When I give gifts I like to at least have something with it that’s handmade.
Salt dough and air dry clay dough are both great for this because if nothing else I can make the gift tag and it can be used as an ornament or a keepsake. Both are also perfect activities to do with kids because it’s so simple to make and they can create almost anything and have it forever or give it away.
Salt dough and Clay dough are similar in many ways and I like both for different reasons. The finished product with salt dough is a bit more rustic looking because it’s so grainy. Clay dough has a more finished look because it’s so white and clean looking. I’ve used salt dough more often to make ornaments or gift tags but recently found out about the air dry clay dough and I quite like the look and feel of it.
With Valentine’s Day coming up this is the perfect time to make some. It’s perfect if you want to give someone a small gift and you can’t think of what to buy, or kids can make them as an alternative to Valentine’s Day cards or chocolates.
I’m going to share both recipes, then you can try either or both and decide.
Air Dry Clay
1 1/2 cup cornstarch
1 cup white glue
1 tbsp vinegar
1 tbsp lotion
1 tbsp olive oil or baby oil
Combine all together and mix until it’s a smooth soft dough. You may need more cornstarch if it’s feeling too sticky and wet. Just keep adding until you get the clay consistency. You’ll know if it’s too much because it will start getting too hard to mix it in, if you get to that point just stop and knead the dough till smooth.
Roll out the dough as thick or thin as you like and start cutting out your shapes. Add beads or anything else that you would like to press into the ornaments and poke holes for a
Salt Dough
1 cup salt
1 cup flour
1/2 cup water
Mix all together and knead until it comes together. If you need more water, add it a teaspoon at a time until you get the right dough consistency.
Roll out to whatever size you like and cut out your shapes. Add anything you want to stay pressed on the ornament, like beads. Poke holes in with a straw or toothpick.
Baked at 210 degrees for a few hours or you can air dry it.
A few tips I learned
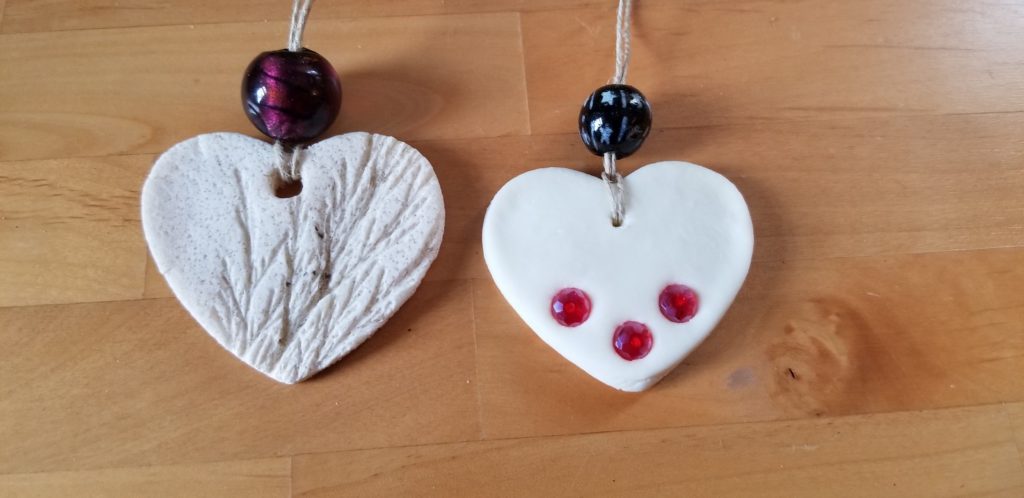
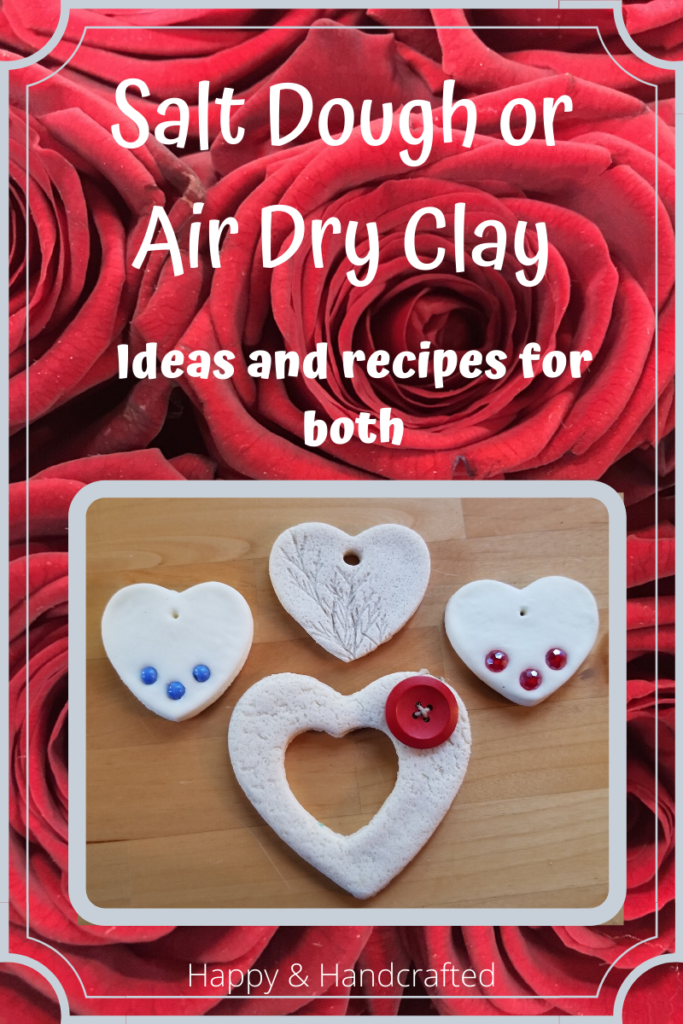
Salt dough is better for impressions. For example – lace, tree leaves or branches, all those things that get rolled into the dough to leave the impression behind. The salt dough holds the impression whereas clay dough is a bit too elastic and the impressions don’t stay as nicely.
Clay dough is better if you want to add things like beads or if you wanted to leave a cedar tree clipping on the ornament. They stay better, likely because it’s glue-based 😉 You can do this with the salt dough but you’ll most likely have to glue anything on because they won’t stay!
Both can be painted with acrylic or watercolours. Acrylic is good if you want the colour to fully coat whatever you’re painting. Watercolour is good if you want more of a glazed look.
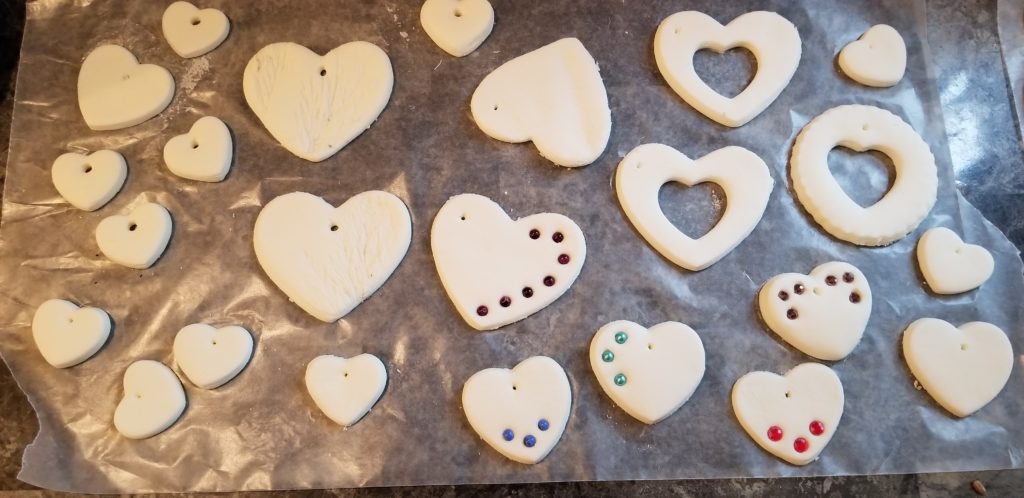
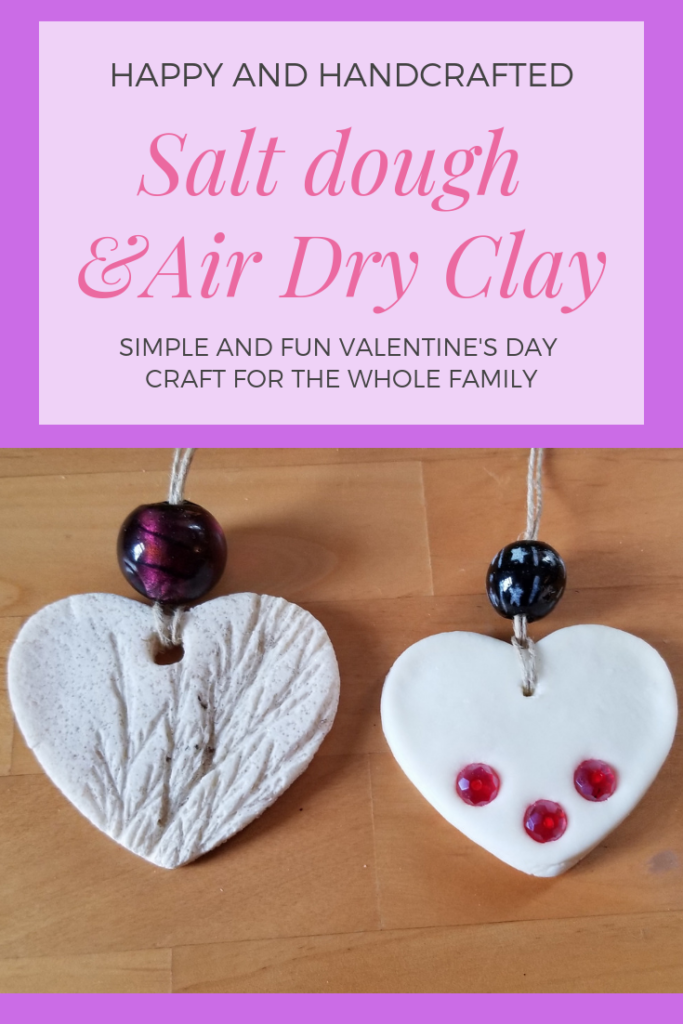
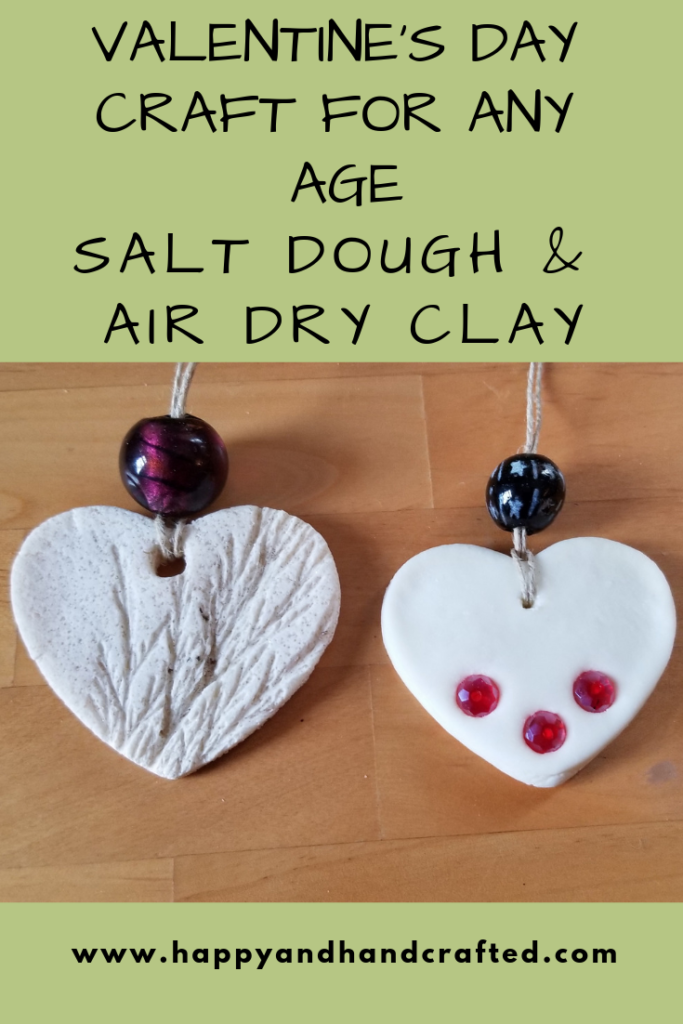
On the left is salt dough and the right is air dry clay
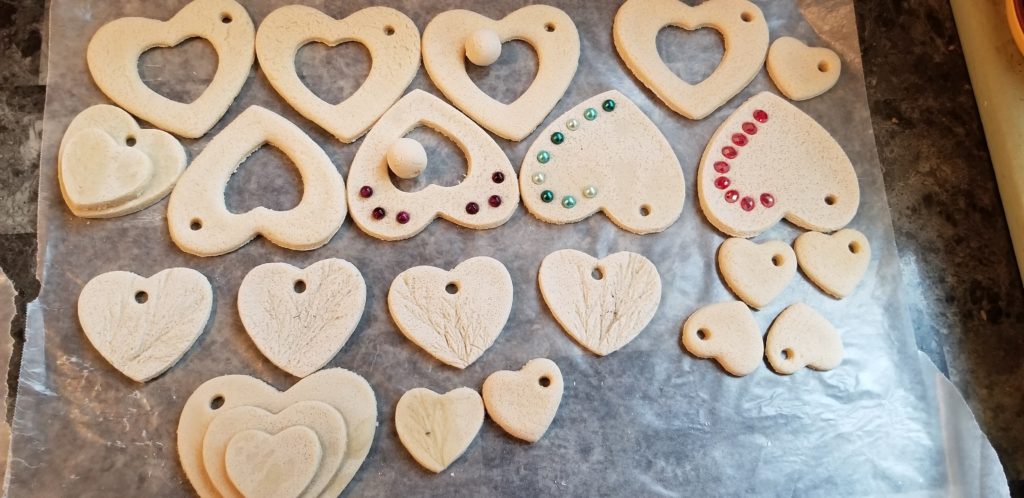
These are a few of the finished salt dough ornaments
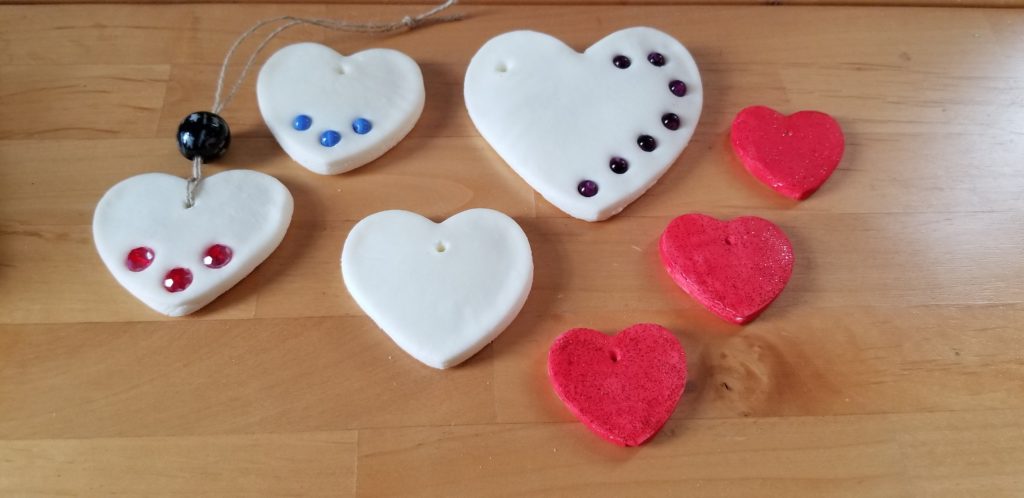
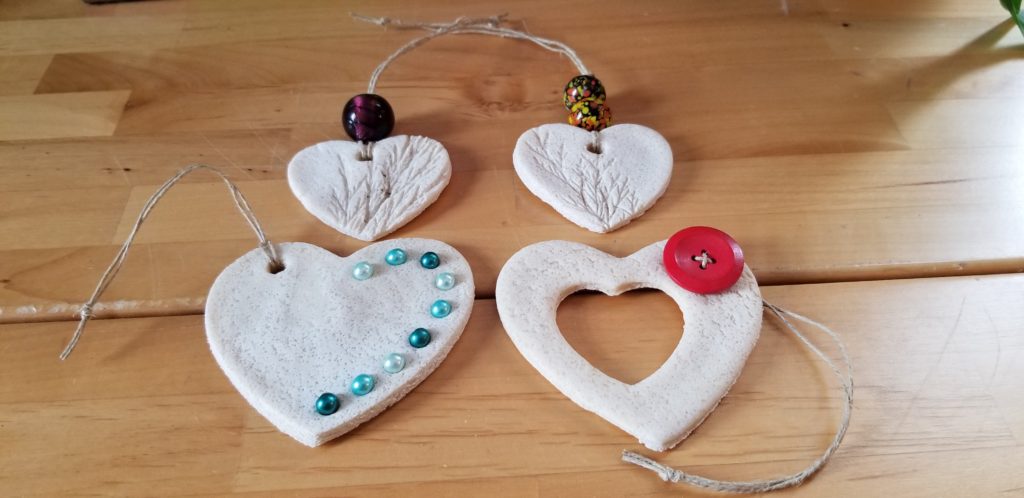
These are some of the air dry clay ornaments. Lots of room on either to add a “to and from” or a “be mine” if you like.
This is such a fun craft for an afternoon. Let me know which one you prefer. 🙂


Comments
Awesome! I’m a big fan of salt dough and have never tried air dry dough. I’m super excited to try it. Thanks for the recipe and review. ❤️
Ya, it’s really nice to work with because of the texture.
Hi. Just wondering which of these would work better for handprints? Thanks, cant wait to try!
Hi, thanks for reading! Personally, I would use the salt dough for handprints. Have fun!
These are so cute!
Thank you!
This is an awesome idea!! It brings back deep memories from my childhood. You can make so many different shapes of ornaments and I can only imagine how much kids would enjoy doing this. So much room for creativity! Definitely pinning this for later 🙂
Ya, it’s fun and you can make anything really. I even tried making beads.
Such a sweet simple idea! Even though we don’t celebrate Valentine’s day this is such a sweet gift idea for any occasion.
Yes, it doesn’t even have to be for an occasion, it can just be for fun.
These are really adorable, and would make sweet Valentine gifts.
Thank you!
What a lovely and adorable handcrafted decor. I can definitely see myself adding this with my daugther she is so talented and loves anything artists for sure. This seems so simple to do.
Thank you! It is quite simple and can be finished in so many ways.
I remember making salt dough Christmas ornaments when I was young. It was great fun!
Me too! My mom still has some of those ornaments.
This appears to be an American Tradition. I am in Australia. Love the way you have addressed the difference with the two clay and the dough. Most pins of the salt dough appear very white. is this after painting as mine are not, they are speckled, is this the salt. Do they look better if think mine are looking a bit like cookies
Hi there, Thanks for reading! The salt dough ornaments have a more rustic look. The gleaming white is the air dry clay dough.
Hi there, love the air dry clay and find it great for small gift tags etc. I have tried making larger ornaments ( Hearts), but find they are cracking and warping as they dry…any hints to stop this would be most appreciated.
Hi, thanks for reading!
I find that if you want a more uniform look for larger ornaments, the air dry clay works a little better.
If the salt dough is cooked too hot or too fast it tends to crack.