
8 Ideas to get creative with your kids
These are awesome for kids with ADD/ADHD and sensory issues.
Hello all! I hope everyone is staying healthy and safe! As you all are painfully aware, the last few months have been unlike anything most of us have ever experienced. Lots of people are home and practising social distancing including kids. Most schools are still closed but there is still online schooling. This helps to keep them learning and so on but it’s very little time each day (for our boy it’s 1 hour/day, he’s in 4th grade)
For those of you who don’t know we are in the final stages of adopting our 9-year-old nephew, so everything about this is completely new to all of us. We brought him home at the beginning of December and he started his new school then and by March “going to school” was over and we had to figure out this new way of being after just figuring out the new way of being.
He has some attention and sensory issues and I need to keep his mind occupied and off of playing Minecraft or watching Netflix at least for part of the day…it’s an ongoing struggle, the addiction is real!! He has a short attention span so I need to make sure whatever our activity is, it doesn’t take too long and it will be something he’s interested in doing so he doesn’t ask to leave and do something else 5 minutes later. haha.
Disclaimer – This post contains affiliate links, that means if you purchase something through an add on this page I will receive a small commission at no extra cost to you. Thank you for your support.
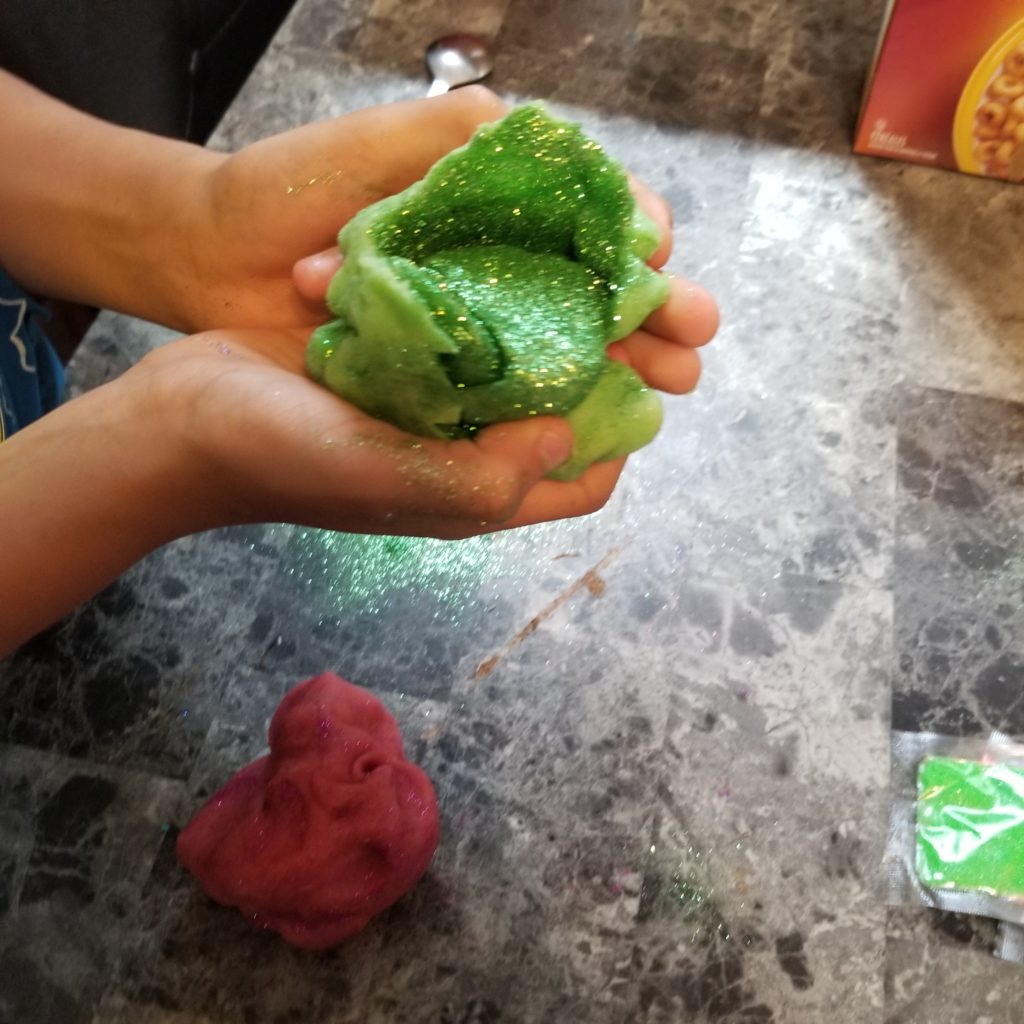
1. Making slime
Slime is something he really loved making and playing with. He is very tactile and is sensitive to texture so he loves the feeling. It’s relatively easy to make and you can really get quite creative with it.
What you’ll need ~
- 1/2 cup Elmer’s school glue
- 1/2 cup water
- 1 tsp Borax powder in 1 cup of water
- Glitter, little foam balls, sequins, etc
- Food colouring
- Essential or fragrance oils
- Bowl
- Spoon for mixing
Mix the glue and the first amount of water together. Add your glitter, scent and colours. Add the borax and water mixture, then stir until you have slime! If there is any water left in the bowl just pour it out.
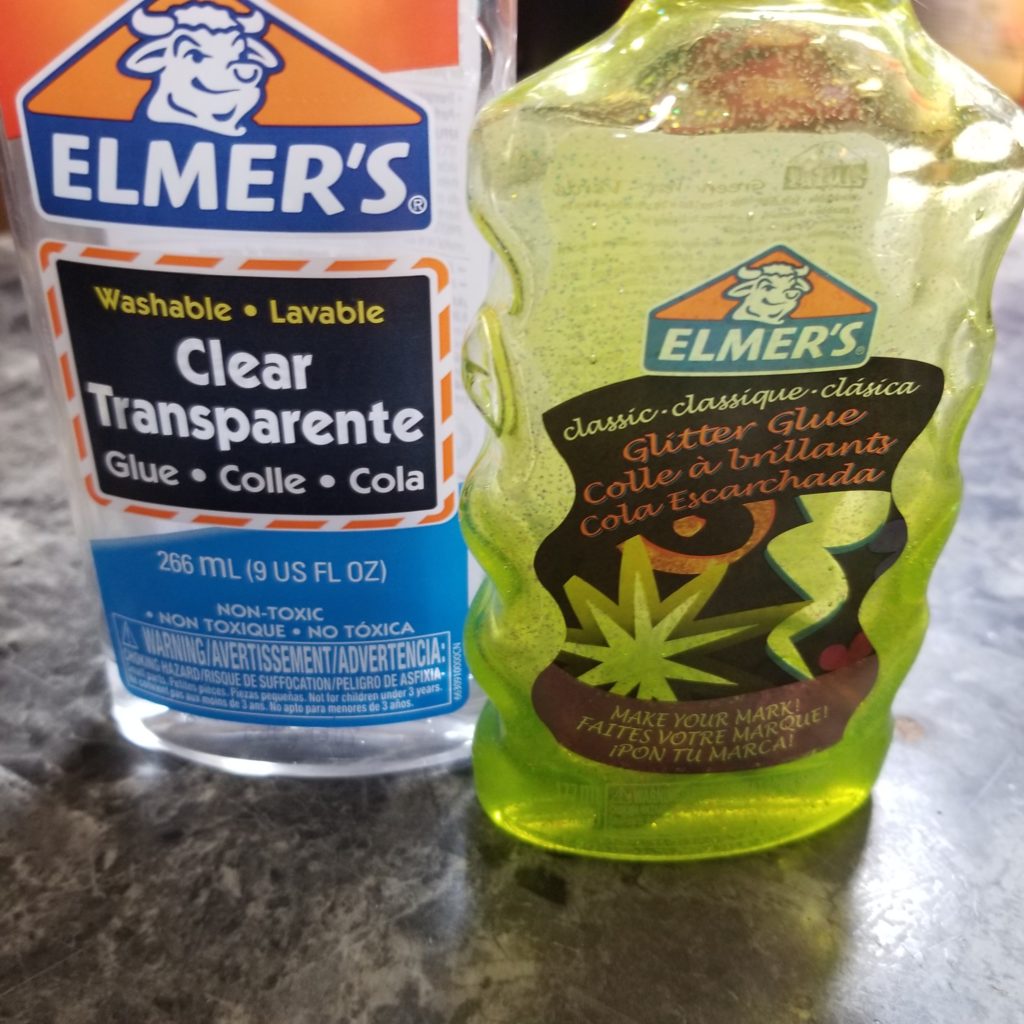
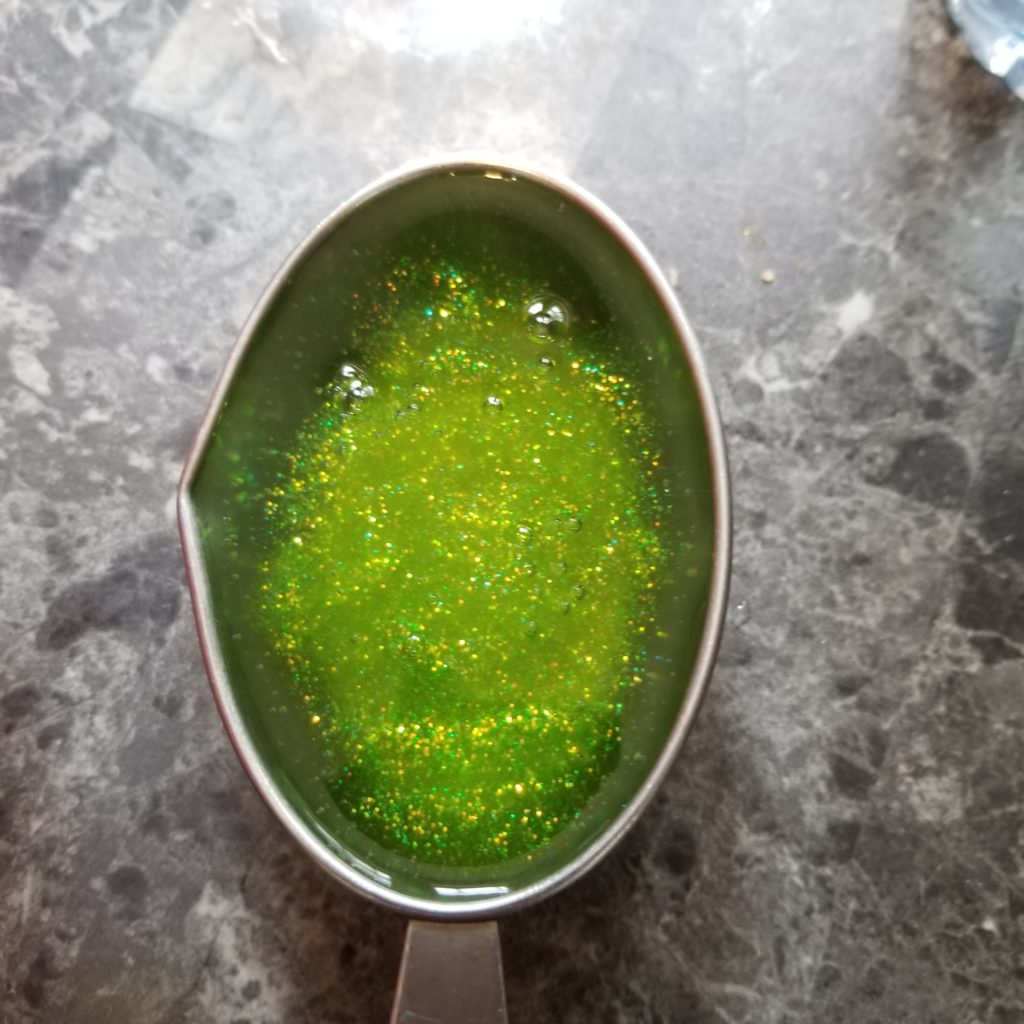
Half glitter glue, half clear glue 
Added some extra glitter
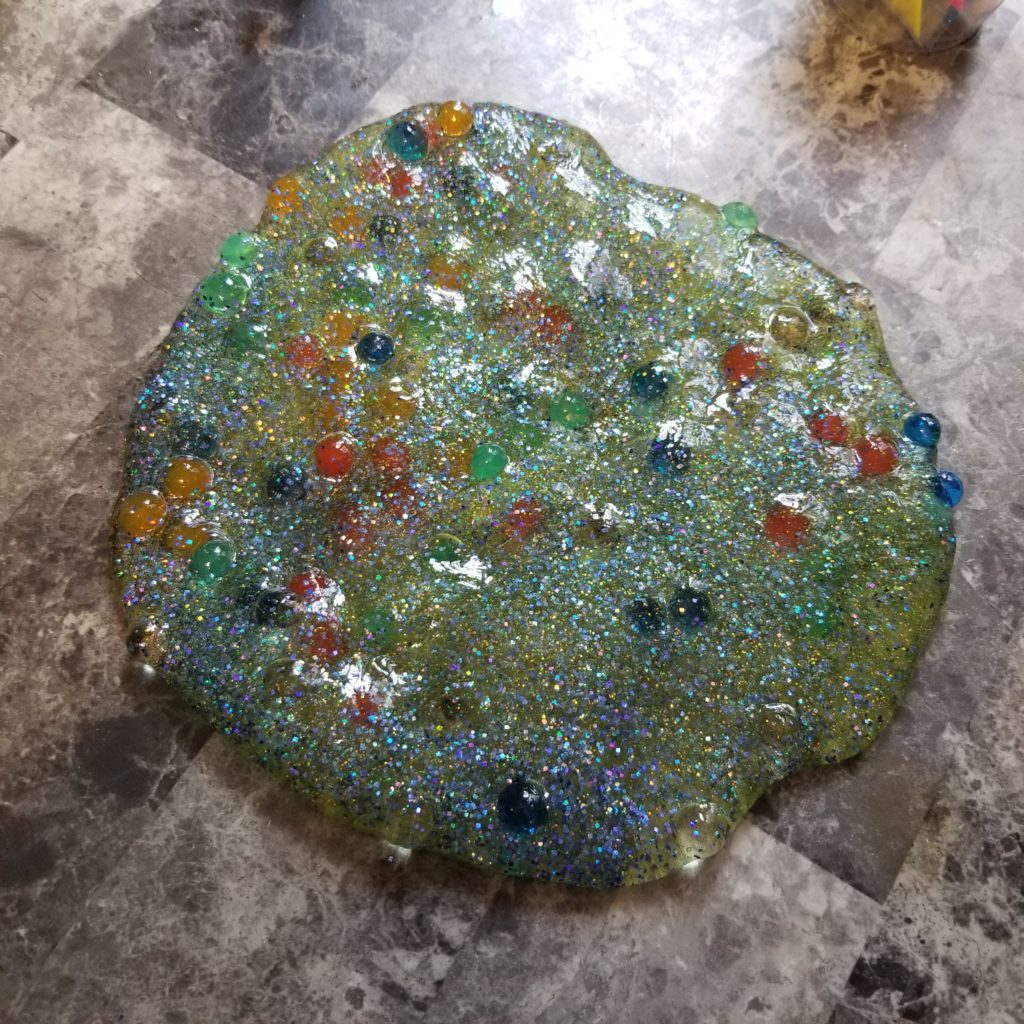
Decided to add a few water beads 

2. Playdough
Playdough is another great sensory thing. My guy just loves it, I think it’s mostly the feeling between his fingers.
This recipe is old! It’s the one my mom used when she made playdough for us. Tried and true!
What you’ll need ~
- 1 cup flour
- 1 cup water
- 1/2 cup salt
- 1 tbsp oil
- 1 tsp cream of tarter
- food colouring
- glitter (optional)
- essential or fragrance oil (optional)
Bring water and oil to a boil. Mix dry ingredients together and add to boiling water. Stir. Knead when cool enough to touch. At this point, you can add colour and scent if you’re choosing to. If you want to do more than one colour just divide the dough into portions and add a different colour to each one.
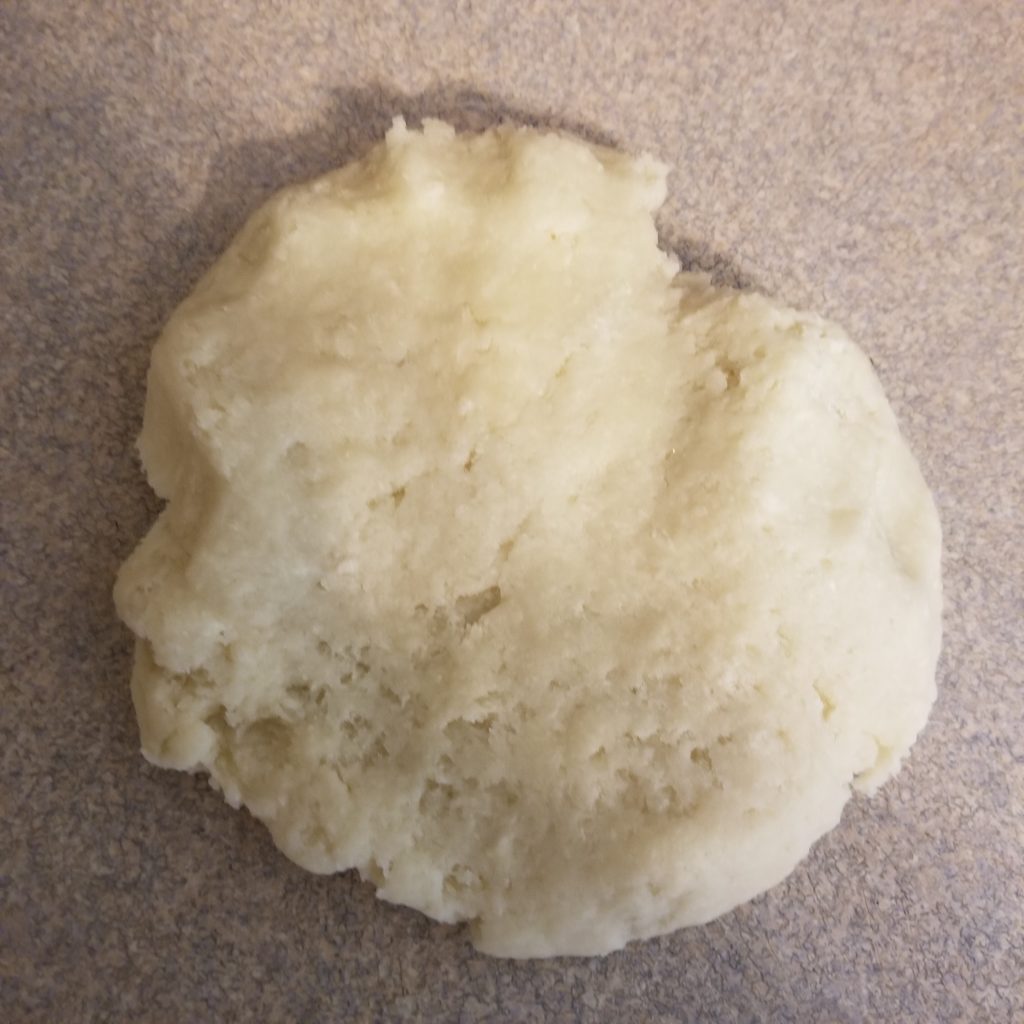


Easy peasy and hours of fun! You can store these in ziplock bags and use them for quite a while.
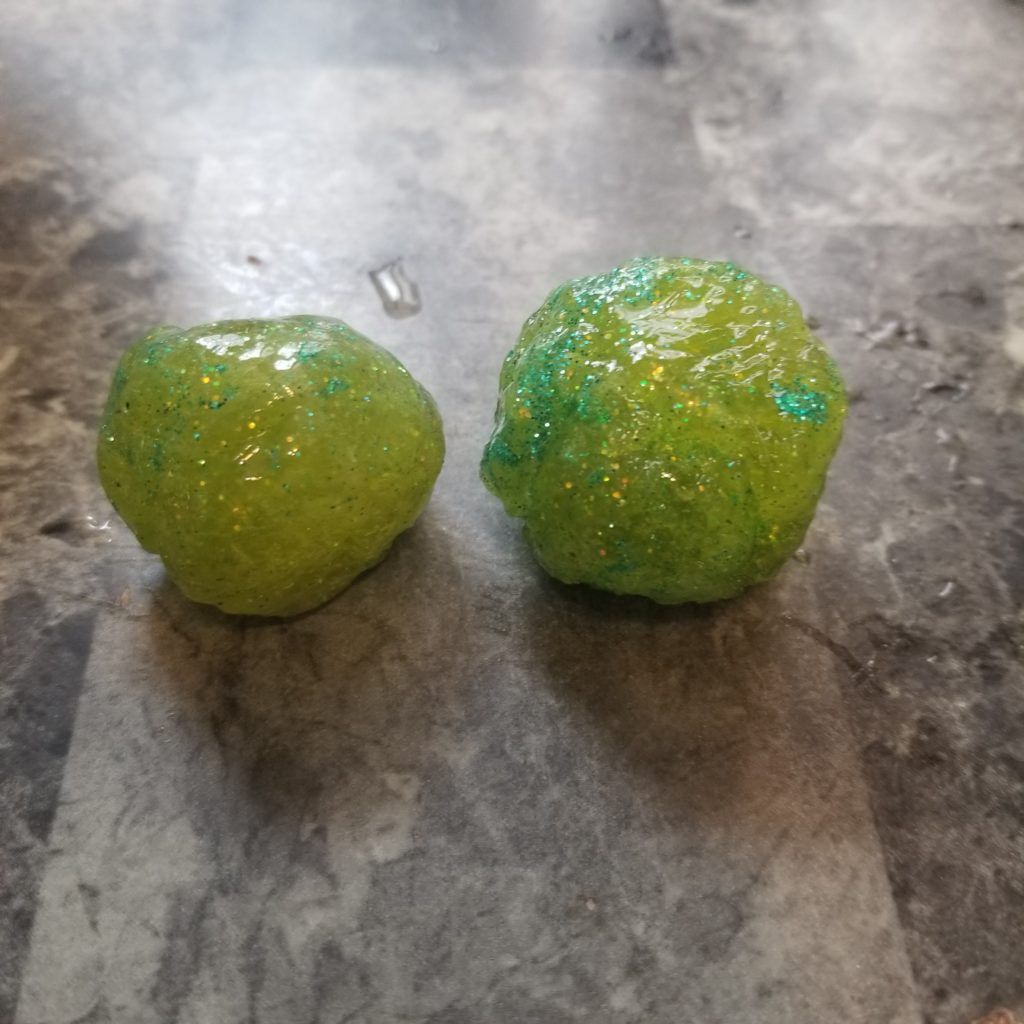
3. Bouncy balls
Making these was a fun experiment! The whole process didn’t take very long so I had his full, undivided attention!
Here’s what you do ~
Take 1/2 cup of hot water – just hot tap water is fine. Dissolve 1 tbsp of borax in the water. Once it’s dissolved add 2 tbsp Elmers glue – We used clear glitter glue. Stir, the reaction should be pretty instant and you should get a bunch of what looks like slime though it’s harder than that. After that use your hands and divide it into equal pieces – we did 2. roll it around in your hands until you get a ball. It will dry and get harder as you work with it.
If the shape isn’t like you want and it starting to get to hard to reform it, just put it back in the bowl with the leftover water and remould. Surprisingly, they really do bounce!

4. Painting rocks
Rock painting was something that took some time for my boy to come around. I myself enjoy painting so I decided rather than saying “We’re painting rocks now” I would just start painting and hoped he would gain some interest. It took a while but it did work.
You’ll need~
- Rocks – I like bigger ones so you have a nicer canvas.
- Acrylic paints – I find those work best
- Paintbrushes
- Some sort of spray-on sealer
Have fun painting your rocks, let them dry overnight, spray them with a good coating of sealer.


Now what makes this activity really fun is you can hide the rocks when you’re done! When you go for a family walk or out to a park somewhere you can hide them on the path or in a tree or wherever your creative mind leads you to. If you search your city and the word ROCKS on Facebook (ie. Medicine Hat Rocks is ours) there is likely a group dedicated to this! You could also keep them and display them in your garden, we’ve done that with some of ours.
5. Making soap
Soap making is another fun project. I make soap as a side business and I really love it. The soap I make is from scratch, however, using lye and oils which I feel is maybe a little too dangerous at least where my boy’s abilities are concerned. I decided to use melt and pour soap for this project not only because there’s less chance for a chemical burn but because of instant gratification! For someone who doesn’t hold interest in things for too long, waiting for 24 – 48 hours to take it out of the mould and cut it, then waiting at least 4 weeks for it to cure is not a fun activity!
What you’ll need ~
- Soap base – you can get this at most craft stores or if not amazon has lots of different kinds
- Soap dye – it’s best not to use food colouring as it’s not really safe for cosmetics
- Essential or fragrance oils
- Any sort of additives you want – flower petals, oatmeal, tea leaves, etc
- Some sort of mould – you can get fancy silicone moulds online or even in thrift stores. You can use things around the house too – juice containers, pringles cans or a small, lined cardboard box.
- Microwave safe bowl for melting
- A spoon or a spatula
Decide how much soap you need and cut it into small pieces, put the pieces in the bowl and melt in the microwave in 30-second intervals until melted. add your colours, scent and whatever additives you want, then pour it into the moulds and wait for it to set (this time depends on how big the mould is) After that just unmould it and get to washing 😉
We decided to make soap crayons for the tub in rainbow colours.


6. Growing rock candy
Making rock candy is fun and the process is pretty quick, however, this was one of those projects that bordered on too long of a wait time but because it was candy and because he doesn’t get a lot of sugar it seemed to be ok. The other thing was that he got to watch the progress of the candy growing each day, which kept the fun going!
What you’ll need ~
- 3 cup white sugar
- 1 cup water
- Lollipop sticks or skewers
- Food colouring
- Candy flavouring (optional)
- Clothespins
- Pot
- Mason jars
First, wet your skewers or whatever you’re using and coat them in sugar and leave them to dry. This will be the base for your rock candy to grow.
In a saucepan on the stove, dissolve the sugar in the water. Pour into your mason jars and add the colour and the flavour and stir. Secure your lollipop stick to the top of the jar with a clothespin. Try not to let it touch the bottom of the jar as the candy will grow to the bottom and you’ll have a hard time getting it out. Once that’s done you’re essentially finished – all that’s left is to wait! Usually about a week and you’ll have some lovely sugar on a stick.

Day 1 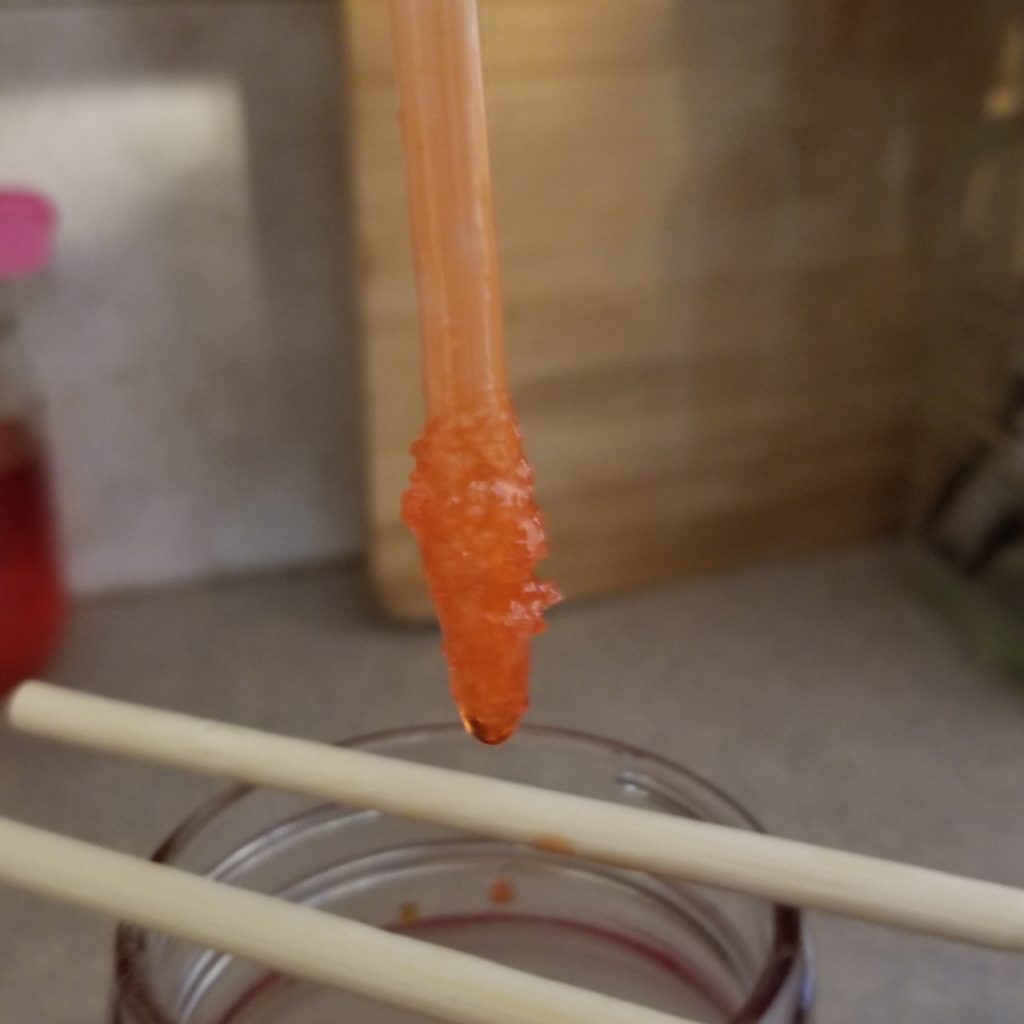
Day 3 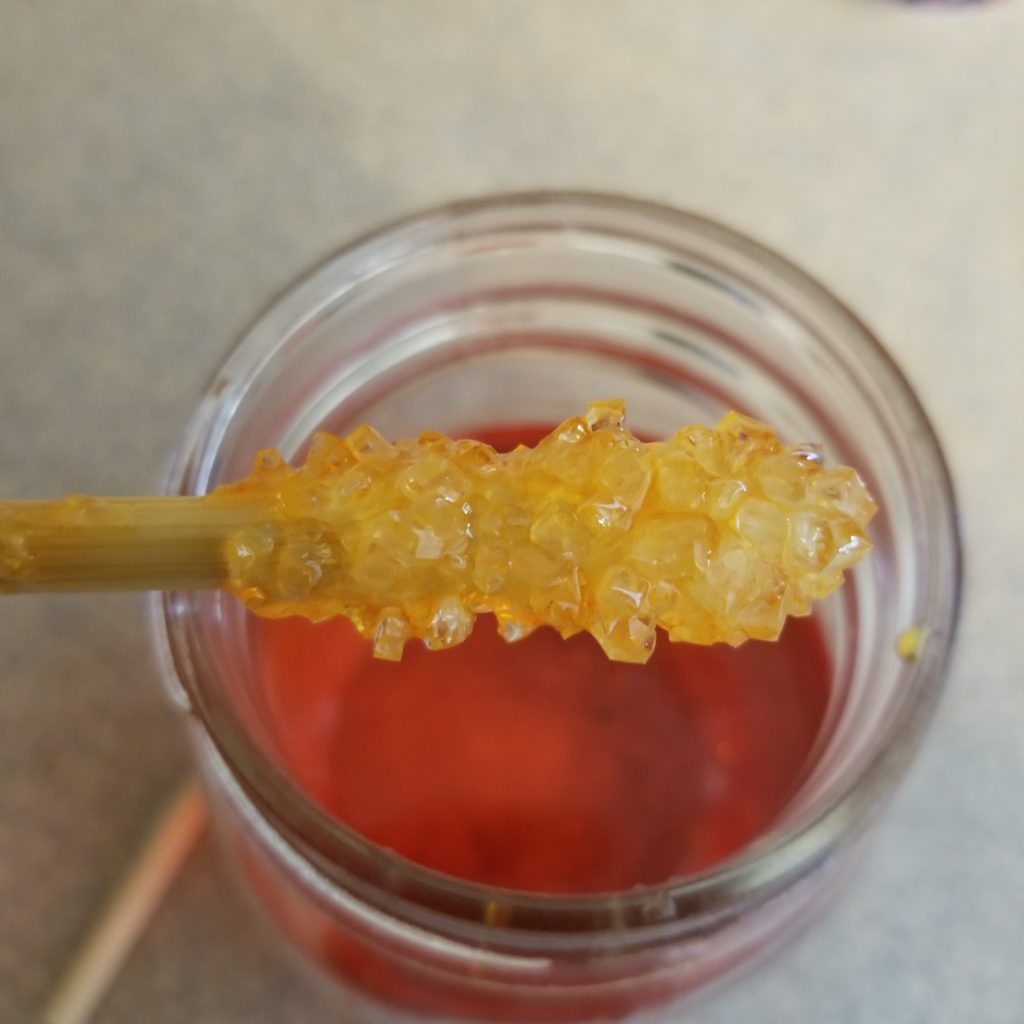
Day 5
7. Calm down/sensory bottle
Doing this activity was fun and it’s something that will help him when he gets upset. There tend to be complete and total meltdowns from time to time and having something like this really helps him focus on something else to calm him down.
They’re really easy to make and the limit is pretty much your imagination.
What to do ~
- We used a wide mouth mason jar but most bottles or jars will work.
- Water
- Clear glue (for our jar we used about 3/4 of a cup)
- Water beads
- A few different types of glitter
- Tempera paint
Fill the jar up about 3/4 full with warm water. Add the glue and about 1/2 tsp paint, put the lid on tight and shake. No, you can add all the extras you want – glitter, water beads, sequins etc. There might still be some space at the top, if that’s the case fill it with water and put the lid on and shake.
The more glue you add the longer it will take everything to settle and if you add less glue, things will settle more quickly. So you can adjust to your liking.


8. Stress balls
This was simple but fun. It’s been something he’s been wanting with me for a while. There are many different ways to make these but I decided on using water beads and balloons because we had a bunch of water beads ready from the “calm down” jar.
What you’ll need ~
- Activated water beads
- Balloons – some clear and some with colour
- a funnel or an empty water bottle
- spoon
As we made these stress balls we realized there were 2 ways that we used to fill the balloons – the first was to put a funnel inside a clear balloon and fill with the beads until no more could possibly fit. Then tie it off and get your coloured balloon and cut a few holes in it. I held the balloon with the holes in it open and he helped stuff the balloon with the beads inside. Then tie the balloon off and presto! a stress ball.

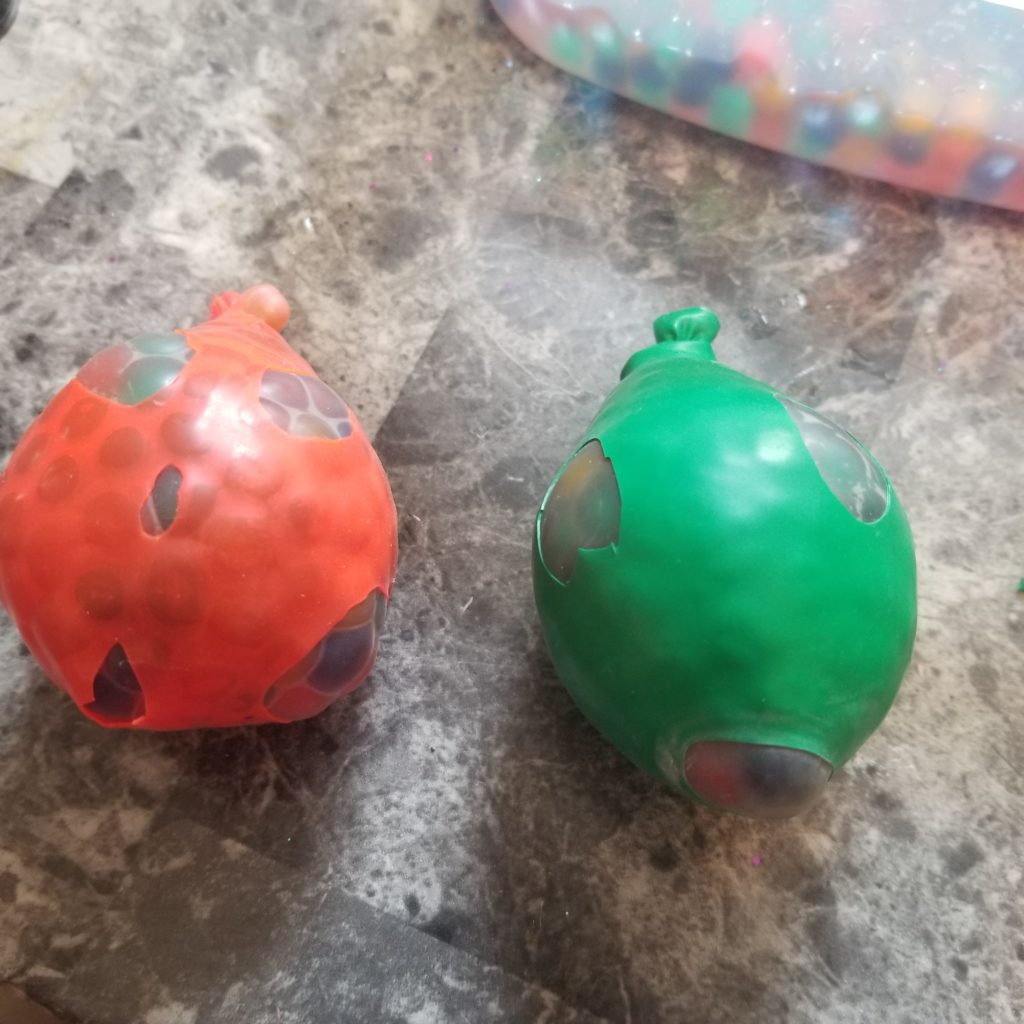
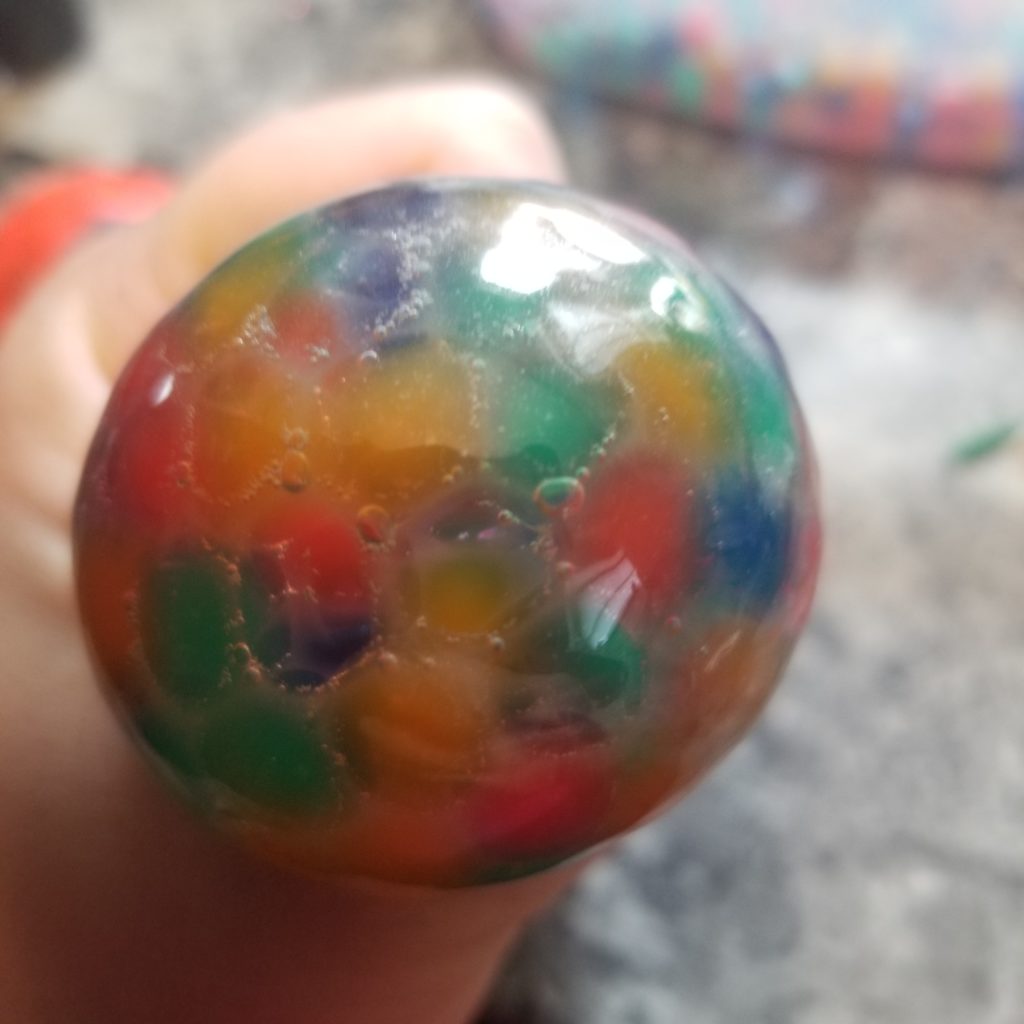
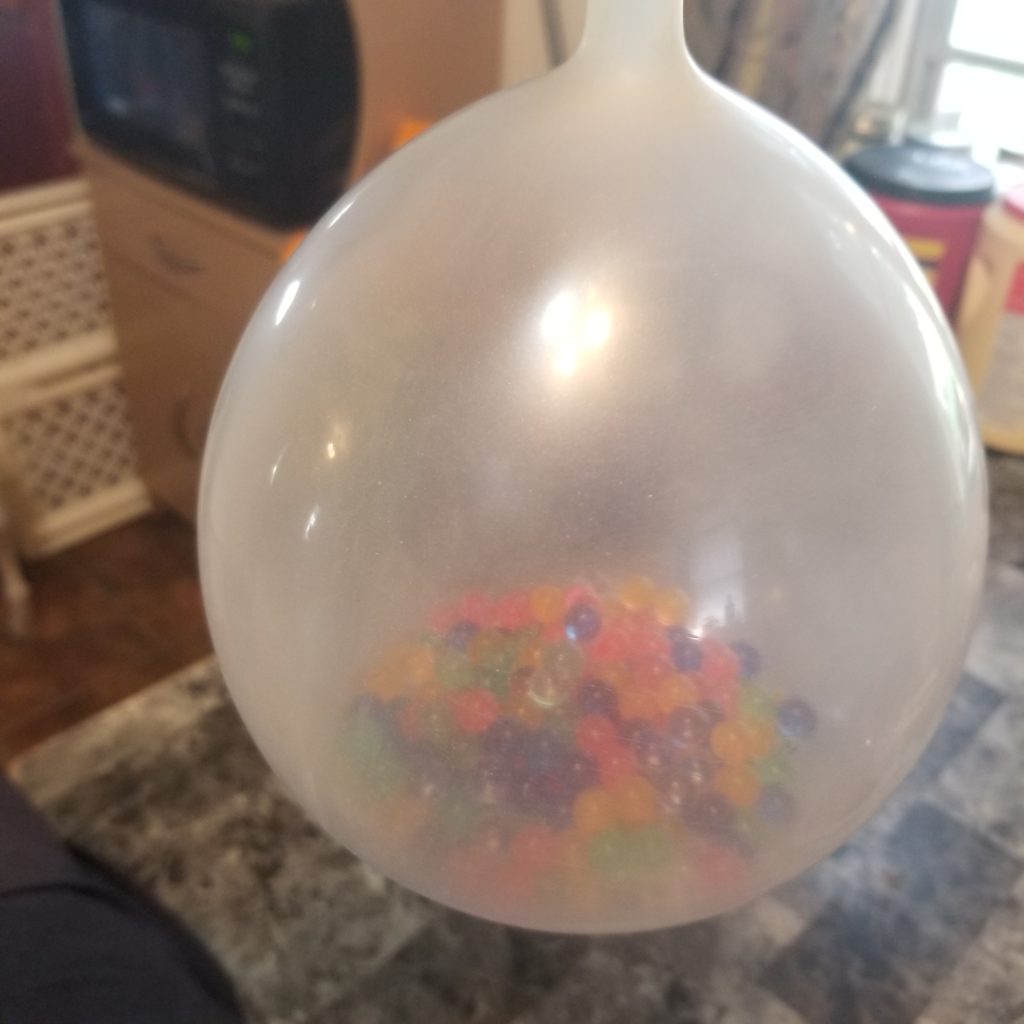
The other way we did it was to use an empty Gatorade bottle. Using the bottle was easy, we just poured some water beads into the bottle, I partially blew up a clear balloon and while he pinched it closed I fit the end of the balloon on the mouth of the bottle, after that, he just turned the bottle over and the beads poured into the balloon.
Doing it this way made a bigger stress ball but it wasn’t really possible to fit it inside another balloon – it’s probably is possible but I didn’t have the strength. haha


-
Tagged craft,dos and don'ts with resin,resin,resin craft,resin fun